Creating fingerprint colour patterns on paper butterflies with optional symmetry folding
Sensory Play
Children press fingertips into shallow paint trays and make marks on paper butterfly shapes, noticing dots, smudges, and overlapping colours. An adult supports by offering aprons and wipes, keeping paint dishes steady, and watching how children vary pressure and placement. Some children choose child-safe scissors to cut a butterfly outline, and others select pre-cut shapes. A folded paper butterfly is available for children who want to explore mirrored marks.
Children explore colour, pattern and mark making by using fingertips to print onto paper butterflies. The experience can stay open-ended, or it can include a simple symmetry option using a fold to notice mirrored marks. Children may choose to work on pre-cut butterfly shapes, draw their own outlines, or cut their own butterflies depending on confidence. The focus stays on experimenting with colour and noticing what their hands can do.
Step-by-Step Guidance
1. Prepare the space with a wipe-clean surface and set out aprons and wipes within reach.
2. Offer three entry points: pre-cut butterflies, butterfly outlines to cut, and plain paper for drawing then cutting a butterfly shape.
3. Present a small range of paint colours in shallow trays so fingertips can touch lightly without flooding.
4. Model one slow fingerprint: touch paint, press onto the butterfly, lift straight up, and pause to look at the mark.
5. Invite children to choose where to place prints and which colours to use, keeping the focus on experimenting rather than filling the whole shape.
6. For children interested in symmetry, offer the option to add paint/prints to one side of the butterfly and use a gentle fold to transfer marks; open and notice the mirrored effect.
7. For younger children or those who prefer messy-free play, place a paper butterfly inside a zip-lock bag with small blobs of paint; seal and offer the bag for pressing and spreading colour with fingertips.
8. Stay flexible: some children may switch between printing, drawing extra details, or cutting a new butterfly to try again.
9. Support a clear finish by providing a place to put completed butterflies to dry and a simple hand-cleaning routine.
Learning Objectives
Children explore Expressive Arts and Design through colour mixing, pattern making and experimenting with different marks. Children develop fine motor control as they press, lift and place fingertips with increasing intention. Children may also explore early mathematical thinking by noticing repeated patterns and symmetry when prints appear on both sides of a fold.
Adult Role
Stay emotionally attuned by noticing children’s comfort with mess, offering aprons or the zip-lock option without pressure, and respecting children who prefer to watch first. Model simple language for what is happening, such as naming colours, describing pressure (light/hard), and noticing changes when colours overlap. Scaffold only when it removes a barrier, such as holding a tray steady, offering fewer colours, or demonstrating a fold once; step back when a child is repeating, concentrating, or testing their own ideas. Observe in the moment by watching grip, finger isolation, persistence, and how children respond when prints smudge or colours mix. Hold responsibility for safe tool use, especially with scissors and paint, and keep materials organised so children can work independently without crowding.
Observation Cues
Chooses colours with a plan, or changes choices after noticing a new effect.
Uses one finger, multiple fingers, or different pressure to change the size and clarity of prints.
Repeats a sequence of colours or marks and notices when the sequence changes.
Shows awareness of space by filling edges, leaving gaps, or working from centre to wings.
Notices mirrored marks after folding and adjusts where prints are placed next time.
Persists with printing even when fingers feel slippery or colours blend unexpectedly.
Time & Space
15–35 minutes, depending on whether children are cutting their own butterflies and how long they choose to repeat printing.
Table space for paint trays and paper, plus a drying area. Floor space can be used for the zip-lock bag version.
Materials
Safety
Age adaptations
Budding Adventurers
Provide pre-cut butterflies plus simple outlines for children who want to try snipping, with adult support for safe scissor handling. Offer 3 colours and space for children to repeat patterns (dots along the edge, stripes of prints, clusters). If a child is interested, introduce the fold as a way to notice “same on both sides” without requiring a perfect result. Add plain paper for children who want to draw extra marks before printing.
Curious Investigators
Offer a choice of making a butterfly from plain paper (draw then cut) or using templates, and invite children to decide where patterns might go (edges, centre, wings). Provide 3–4 colours and encourage children to notice what happens when colours overlap or when they change finger pressure. The symmetry option can become child-led: children choose when to fold and where to place prints to test their own ideas. Adults can support vocabulary such as lighter/darker, same/different, and mirror.
Confident Discoverers
Offer plain paper for children to design their own butterfly outline and cut it out, alongside templates for those who prefer. Invite children to plan a repeating pattern or a symmetrical design and adjust it as they notice results. Provide a small palette of colours and space for children to test prints on scrap paper before committing to the butterfly. Adults can support children to describe their process and compare two butterflies made with different pattern rules.
EYFS Links
Expressive Arts and Design: children explore colour, texture and different ways to make marks, and they may develop their own ideas for patterns on the butterfly shape. Physical Development: fingertip printing, controlled pressing and lifting, and optional cutting can build hand strength and coordination in a meaningful context. Mathematics: children may notice and create repeating patterns, compare same/different, and explore symmetry through folding and observing mirrored marks. Communication and Language: adults can model descriptive vocabulary for colour, position and change, and children may share choices and explain what they notice.
Ethos adaptations
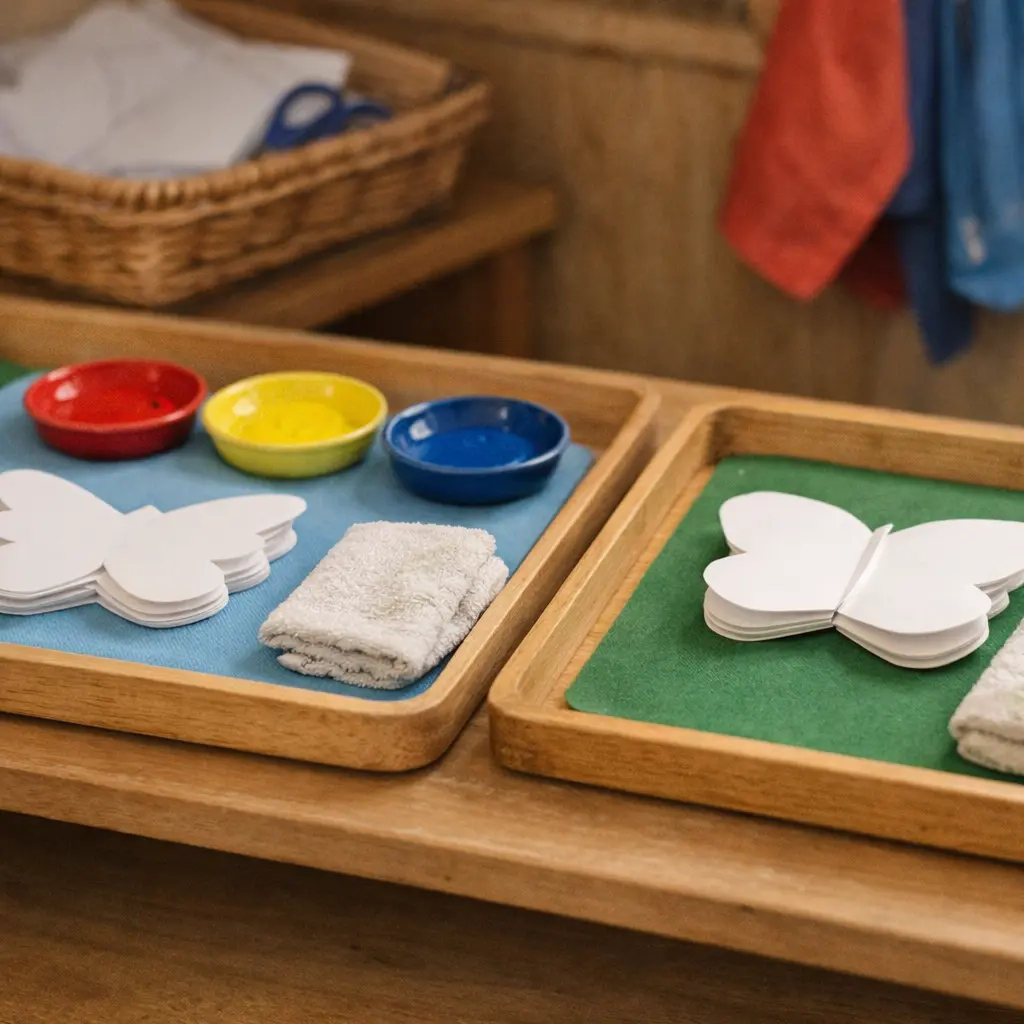
Place two self-contained trays on a low shelf. Tray 1: a small stack of pre-cut butterflies, two or three paint dishes in a left-to-right line, one placemat, one damp cloth. Tray 2 (symmetry): butterflies pre-creased down the centre, the same limited colours, one mat, one cloth. Remove extra colours and tools; keep one of each item on each tray. Scissors and outline sheets sit in a separate basket for children who choose to cut, away from the trays. Aprons hang beside the shelf. The crease gives a clear control of error for mirrored prints.
Give a brief, quiet demonstration: dip one fingertip, wipe excess on dish edge, press once, lift straight up; on the symmetry tray, print on one side, fold on the crease, press, open, then return items. Step back and keep language minimal, offering only safety reminders. Watch for finger isolation, steady pressure, spacing and repeated patterns (AB, AAB), and whether the child notices mismatches across the fold. Note hand preference, ability to choose needed materials, and whether they repeat, refine, or stop.
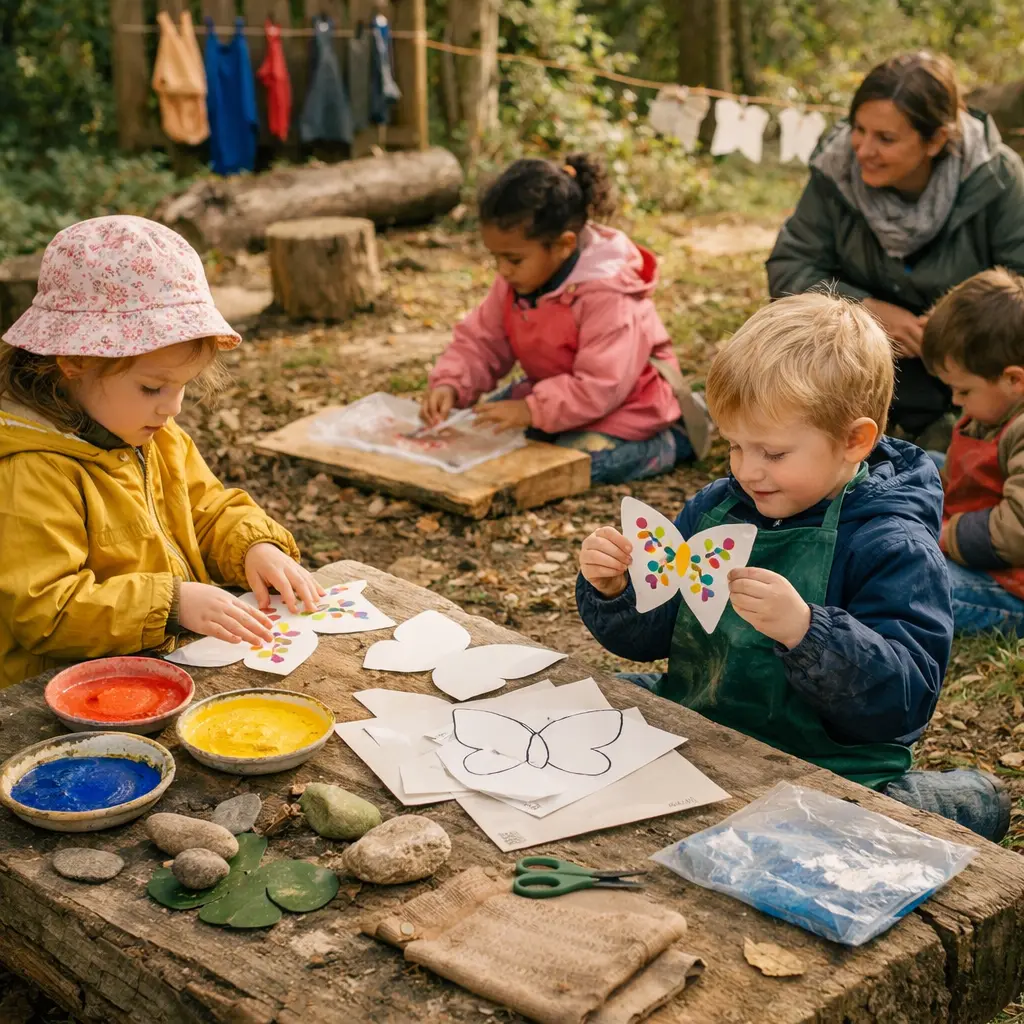
In an outdoor or nature-integrated space, the activity moves to a grassy clearing, sheltered decking or garden table where leaves, bark and stones sit nearby for exploration. Materials are arranged with pre-cut or blank paper butterfly shapes, washable paint in shallow dishes, natural mark-makers (leaves, feathers, smooth stones) and cloths for wiping; aprons and zip-lock bags remain available. Children may take paint to a low bench, tree stump or mat and experiment with fingertip printing alongside natural textures instead of a pristine tabletop setup.
The adult observes from a short distance, remains close enough to check safety around scissors or uneven ground, and offers brief responsive prompts or single-word labels rather than step-by-step instruction. Children choose whether to fold for symmetry, cut their own outline, or repeat prints and patterns, testing pressure, colour mixing and mirrored marks at their own pace while the adult intervenes only to manage risk, hand over materials on request and quietly reflect back what they notice.
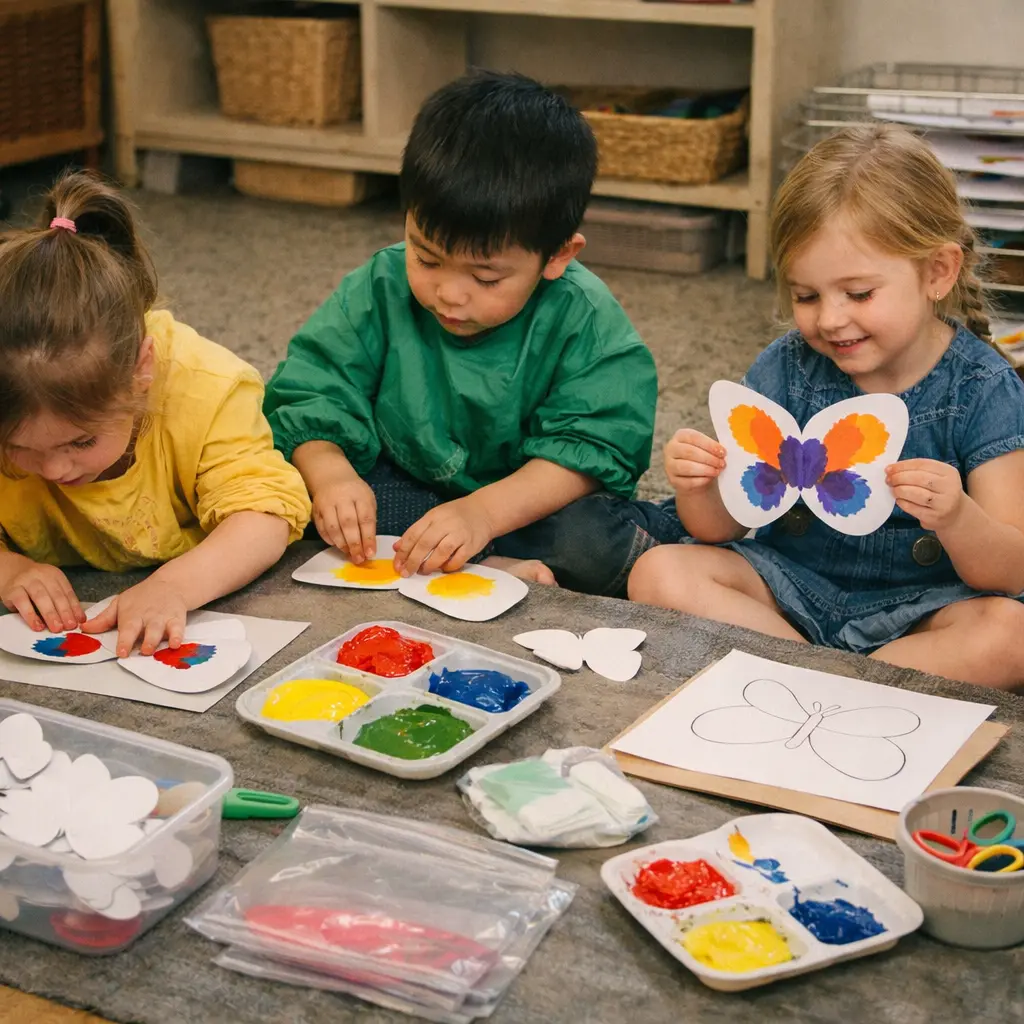
Ethos adaptation: Arrange a low, clear table area with three accessible stations so children can self-select pre-cut butterflies, outline sheets or plain paper to draw and cut their own. Place paint trays, wipes, aprons and zip-lock bags within reach in a visible layout so materials invite exploration rather than being handed out. Allow space beside each child for folding and opening to check mirrored prints; keep scissors in a labelled tray for those ready to use them, and make drying space part of the setup so prints may be revisited.
The adult steps back as observer and co-researcher, using commentary such as "I can see the red print changed when you pressed harder" or "You’re trying to make a repeating row" rather than giving steps. The child may move between stations, choose symmetry or free printing, mix colours and abandon or return to designs; the adult notices patterns of repetition, fine-motor adjustments, decision points and moments of surprise and records these behaviours as they naturally appear during play.

A quiet table is cleared and covered with a neutral linen cloth; each child has a defined space with a wooden board. Only a small range of plant-based watercolours (two or three) is set out in ceramic dishes with a little water. Pre-cut butterflies are offered on thick recycled or cotton paper, alongside plain sheets and a soft graphite pencil for drawing outlines; metal-blade scissors are available if needed. Cotton aprons, a small bowl for rinsing fingers, and damp cotton cloths are placed within reach; no plastic trays or bags are used.
The adult makes two calm fingertip prints on one wing and shows a single fold-and-press, then steps back, using minimal language and observing posture, pace, and safety with scissors. The child chooses pre-cut or self-drawn shapes, returns to dipping, pressing, lifting, and spacing prints, and may repeat the fold to notice mirrored marks or continue freely. The rhythm closes with quiet tidying: rinsed fingers, work laid flat to dry, and the surface wiped with the cloth.